Picture this: You’ve just finished, a rather satisfying shave. Your skin feels smooth and refreshed. But instead of reaching for that mass-produced aftershave, with questionable ingredients and a “one-size-fits-all aroma” approach: you head onto your bathroom cabinet.
Waiting in there is a bottle of your very one innovation – a DIY Aftershave, that is not only friendly to your skin! But also, the ultimate description of your personalized style. That’s the power of DIY aftershave! Without a doubt, it smells of a star that fell under a unicorn’s foot and got crushed!
Table Of Content
Why Go The Homemade Route?
Your Scent, Your Rules:
You know those commercial off-the-rack suits, right? Well, it’s the same for aftershave. Sure, they seem to fit, but standing in a crowd? That’s another story.
Homemade aftershave, it’s like your custom tailor – you can choose the materials (essential oils) and design a fragrance which is, completely you. Whether you like things woodsy and warm, citrusy and fresh, or that have a hint of spice, your aftershave can be as distinctive as you!
Know What’s Touching Your Face:
Have you ever taken the time to read the ingredients list on the aftershave from shops? I mean, it starts looking like someone blew up a chemistry lab in there. All these unpronounceable things and potential irritants.
When you make your own aftershave, you’re in the driver’s seat, you can control what goes on your skin. This can be great if you have an issue with sensitivity, or dryness, or want to take an all-natural route.
The Manly Art of Creation:
Listen, there is something deeply satisfying about creating stuff with your own hands. Especially, when it comes to grooming products. It’s not only about the aftershave. It’s about the process.
A little bit of measuring, a little bit of experimenting, a little bit of mixing scents, it feels satisfying on a whole different level.
Aftershave Toolkit Requirements

The Foundation:
- Witch Hazel- Certainly it is the royal classic option, essentially a natural astringent tightening things up, but not in a harsh way.
- Vodka- It kind of has a small amount of antiseptic quality and does the job when you’re really in need.
- Even Distilled Water is perhaps acting as the basic element for newcomers, especially, where there is a focal point towards essential oils, for their respective scents.
Glycerin- The Skin Soother:
This is kind of a gulp of water for the face that just got shaved! It’s soothing! It attracts moisture, leaves the skin soft, and doesn’t let it dry and tight. It is available at most drug stores.
Essential Oils:
This is where you become an artist. Here are some favourite essential oils for DIY aftershave-
- Warm & Woodsy: Sandalwood, cedarwood, vetiver
- Old-School Classic: Bay rum, cloves, allspice
- Citrus Zin: Orange, grapefruit, lemon, bergamot
- Fresh & Cool: Peppermint, eucalyptus, tea tree
- Soothing Touch: Lavender, chamomile
Storage Essentials:
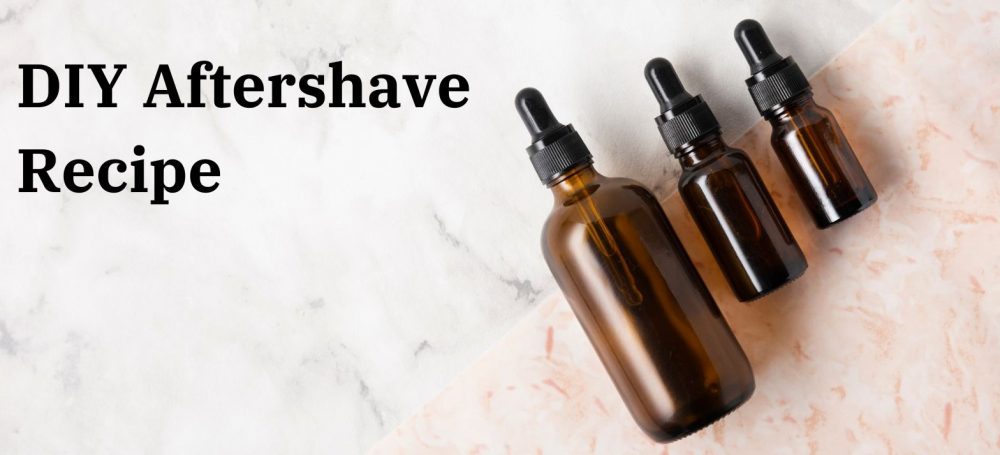
Dark bottle of glass, with a dropper it’s just perfect for storing your DIY aftershave. We all love a good, precise application. And that dropper does this with perfection.
Best Recipes For DIY Aftershave

The Timeless Classic: Bay Rum Aftershave
Ingredients-
- 1/2 cup witch hazel
- 1/4 cup distilled water
- 1 tablespoon glycerin
- 5-8 drops bay rum essential oil
- 2-3 drops of clove essential oil
- 2-3 drops of orange essential oil
Instructions-
- Witch hazel, distilled water and glycerin, they’re needed to be combined in a bottle of glass that’s clean.
- Add the essential oils, the process begins with a smaller volume and then adjusts to your flavour liking,
- Shake well, your aftershave is ready.
Citrus & Mint Zinger:
Ingredients-
- 1/2 cup vodka
- 1/4 cup distilled water
- 1 tablespoon glycerin
- 6-8 drops of sweet orange essential oil
- 4-6 drops of peppermint essential oil
Instructions-
- In a clean glass bottle combine vodka, water, and glycerin.
- Essential oils, those needed to be added to, adjust them as per your taste.
- Vodka is a drink but here we are using it for skin. Shake it up, and you’re ready for a refreshing blast.
Lavender Lullaby:
Ingredients-
- 1/2 cup witch hazel
- 1/4 cup distilled water
- 1 tablespoon glycerin
- 8-10 drops of lavender essential oil
- 3-5 drops of chamomile essential oil (optional)
Instructions-
- Combine with hazel, distilled water and glycerin in a clean glass bottle.
- Add essential oils, and adjust amounts to your liking.
- Shake well and splash for ultimate relaxation.
Pro Tips and Tricks
- Storage Matters: Your DIY aftershave loves a cool, dark place. An amber or cobalt glass bottle not only looks cool but also helps protect those essential oils from light degradation.
- Use by Date: When it’s all-natural, you should use your nose as a guide. Most concoctions should last some months. But if they start to smell wrong or start separating, then it’s time to toss it and make a fresher batch.
- Play it safe: Before it across your entire face, try. Do a patch test on the inside of your arm, and wait for 24 hours so you are certain you don’t have any sensitivities to the ingredients.
- A gift like a legend: Nothing can beat a personalised gift – bottle up your best homemade batch, and add a handwritten label along with the scent profile and date – that’s a remarkable gift with considerations behind it.
- Start Small: At the initial stages of experimenting, make smaller batches. That’s the way you can modify the recipe if you decide it’s not suitable without putting the ingredients to waste.
- The Power of Dilution: Too much powerful scent of your aftershave, no need to feel tense. You can always dilute it with a bit more of your base liquid (witch hazel, etc.).
- Shake it up: Always give your aftershave a good shake before using it. This helps in evenly spreading the essential oils and the foundation.
FAQs:
1. How do you make homemade aftershave?
There are so many different options out there so here’s the Citrus & Mint Zinger recipe:
- 1/2 cup vodka
- 1/4 cup distilled water
- 1 tablespoon glycerin
- 6-8 drops of sweet orange essential oil
- 4-6 drops of peppermint essential oil
2. Can I use any essential oils in my aftershave?
It’s best to stick to essential oils that are known to, generally safe on the skin. Always do a test patch first, especially if your skin is sensitive. Some oils can be irritating undiluted, so starting small is essential.
3. How long does homemade aftershave last?
Since no harsh preseravatives are there in homemade aftershaves, most DIY aftershaves can be kept for several months. Store in a cool – dark place, and use your nose if any off-odoursor textures that have changed mean it’s time to make a new batch.
4. What can you use as aftershave?
11 Natural & Affordable aftershave alternative are –
- Aloe Vera Gel
- Apple Cider Vinegar
- Witch Hazel
- Cold Water
- Alum
- Toners
- Bay Rum
- Lotion
- Hydrogen Peroxide
- Natural Oils
- Cologne
Conclusion
Think about stepping out in the world every day, having a fine aroma. Kind of smell that, you know, gives off your personality? It’s like a unique nosy thumbprint. It hangs in the airway after you. Isn’t that, the power of a signature aftershave, that you’ve made with your own hands?

Reet Patel
As a college student, I understand the value of a polished appearance. My dedication to a well-groomed beard signifies the importance I place on self-presentation and consistency in my personal and professional life. My commitment to a well-maintained beard reflects my broader attention to detail. Whether in my studies or my appearance, I strive for precision and quality.


